
Interior Painting Job – Walls, Trim and Baseboard
In continuation our last post about drywall repair, it’s time to walk through the painting portion of this project. In this post we will show you how we painted the walls, trim and baseboard of this home. After reading this post you will have an idea of how to paint the interior of your own home. Interior painting in Vancouver, WA can be made harder than it needs to without the proper tools. We stick to a specific list of painting tools and supplies so let’s go through the list.
Tools Used
- Paint rollers, 4 inch, 9 inch and 22 inch rollers
- Jumbo paint tray
- 2.5 inch stiff cut-in paint brush
- Hand held paint rolling tray
- Frog tape
- Painters plastic
- Large construction paper
- Hand masker with plastic and paper
- 5 in 1 painter’s tool
- Putty knife
- Utility knife
- Philips and flat head bits
- Painter’s caulking
- Painter’s putty
- 6 and 8 foot step ladders
- Fold out bench
- Paint Thinner
- Painter’s rags
- Paper Towels
- Broom and Shop-vac
Quite the extensive list but we use all of these tools/supplies in most of our interior painting jobs in Vancouver, WA. Luckily, there are fewer steps than there are tools so lets review those as well.
Steps
- Clear your work area
- Remove debris like dust and cobwebs from the areas that will be painted as well as electrical outlet covers
- Fill holes, caulk gaps and cracks
- Mask and Tape off
- Paint!
- Clean up
Clear your work area
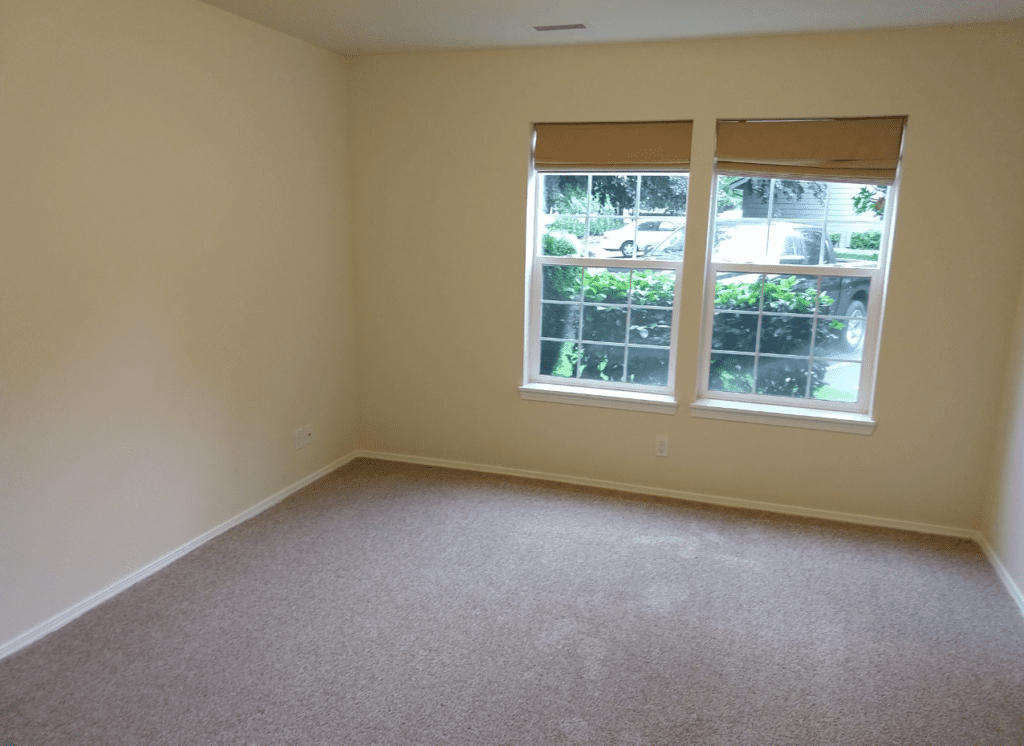
As you may have gathered by the list of steps, much of our time on the job is spent prepping the workspace. Luckily for us on this paint job, the home was vacant so we did not have much clearing to do.
Remove debris
As mentioned, the home was vacant and vacant for a while to say the least. Unfortunately the home was full of cobwebs, dust and animal hair that had to be removed before painting. We used a simple hand held broom to do most of debris removal and it works great for cobwebs. Removing electrical outlet covers is also a necessity. We used a 5/16 flat head screw driver for outlet covers. Things like window blinds or heater cover plates usually require a Philips head.
Filling holes, caulking gaps and cracks
Before painting, holes from previous wall hangings like pictures, should be filled with standard painter’s putty. If don’t know of an experienced interior painter in Vancouver, WA then you may not know to caulk gaps and cracks! Pro tip: Always caulk gaps, the most common gaps and cracks form where mill work meets the walls. You will get a much nicer end product if you take your time caulking. Pro tip number two: carry a damp tiling sponge with you while caulking. Wipe the sponge along the caulk bead after wiping with your finger for a smooth seamless finish.
Mask and tape off
A crucial part of interior painting and exterior painting is taping off and masking off the things and surfaces that you do not want paint to get on. Masking is quite simple, we simply mask the areas where we could spill paint (like floors). Taping off is a different story, it takes time and it takes practice to tape off effectively and efficiently. We used frog tape, although it is expensive, it works great for fine finishes.
Paint
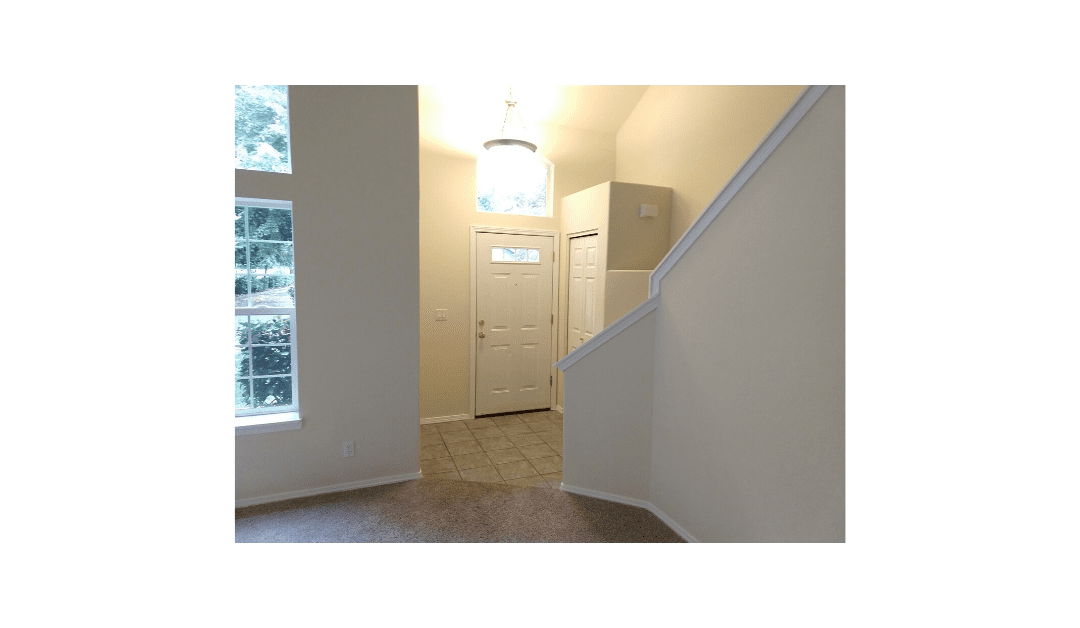
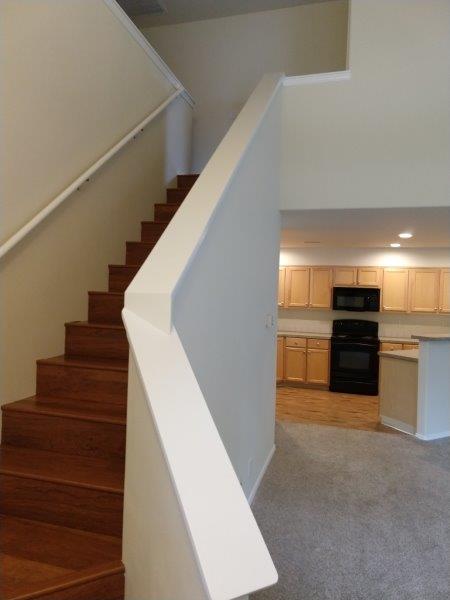
For this paint job we rolled on paint by hand as opposed to using our airless sprayer. We used a 4 inch roller for the corners and a 22 inch jumbo roller for the bulk work. Painting trim and baseboard, is more complicated and takes more skill. Use of a paint brush for cutting-in and precise taping off is a requirement for us. Note: cutting-in is a term used to describe the process of painting the outer edges of the surface being painted. For the trim and baseboard we cut in with a brush and rolled out the rest with a 4 inch roller. Pro tip: when painting mill work by hand, use a self-leveling paint. Although more expensive, self leveling paint does not leave brush or roller lines and dries perfectly smooth if applied properly.
Clean up
Once the painting was done our last step was to clean up. Removal of tape and masking paper/plastic, re-attaching outlet covers and window blinds is all part of leaving the space the way we found it. We did a final walk through and applied necessary touch-ups in the clean up phase.
Conclusion
Painting can be done easily with the proper tools but sometimes it is easier to hire professionals. Learn more about us and give us a call if you need interior painting in Vancouver, WA and surrounding areas.
